
How to replace oxygen sensor bank 1 sensor 1, and sensor 2: If your check-engine light is on and the scanner keeps pointing you to an oxygen sensor, Bank 1, Sensor 1, or Sensor 2, it can get confusing fast. Don’t worry. In this article, I’m going to break everything down. We’re going to look at how to tell which side of the engine is Bank 1 and 2, where each sensor is located, and how to identify them without guessing or replacing the wrong part.
I’ll also walk you through the most common reasons oxygen sensors fail, the symptoms they cause, and how to know whether it’s the upstream sensor before the catalytic converter or the downstream sensor behind it. And when it comes time to replace them, I’ll show you step-by-step how to change each one, Bank 1 Sensor 1 and Bank 1 Sensor 2, including removing the covers, disconnecting the wiring, using the right tools, and installing the new sensor the correct way.
We’ll also talk about the cost of these sensors, what you should do right after replacing one, how to reset everything properly, and how to get your car ready for inspection without running into those annoying readiness monitor issues.
By the end of this article, you’ll know exactly where every sensor is, how to replace them confidently, and how to avoid the common mistakes that make people waste money on unnecessary repairs. Let’s get into it.
Which O2 Sensor Is Bank 1?
Before you replace anything, you need to know exactly which sensor the car is talking about. Bank 1 simply refers to the side of the engine that has cylinder number one. This doesn’t change based on where the belts are, where the battery sits, or which side of the engine looks “front” to you. Every manufacturer marks cylinder one in a specific place, and that side automatically becomes Bank 1.
So when your scan tool says “Bank 1,” it’s pointing to the oxygen sensors that monitor the exhaust coming from the cylinders on that specific side of the engine. Once you understand that Bank 1 is tied to cylinder one, not to “driver side” or “passenger side” by default, the rest of the sensor naming starts to make a lot more sense.
Now, what Side Is the Bank 1 O2 Sensor?
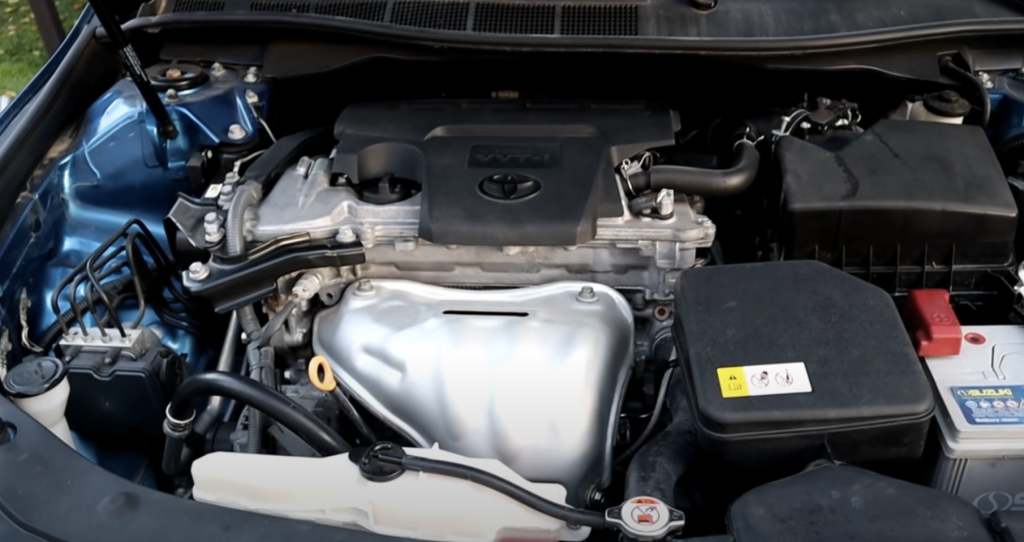
Well, it depends on the engine and the brand of the vehicle. On many Toyotas, Hondas, and a lot of Nissans, Bank 1 is usually toward the front or the firewall side of the engine, depending on how the engine is mounted. On many American V6 and V8 engines, Bank 1 might be on the driver’s side.
The easiest way to confirm isn’t to guess; it’s to look up your engine’s firing order or check the engine label or service information. Whichever side has cylinder one, that’s Bank 1. Once you know that, every oxygen sensor on that side, upstream and downstream, belongs to Bank 1, and the codes that mention Bank 1 are pointing you right there.
O2 Sensor Bank 1 Sensor 1 Location?
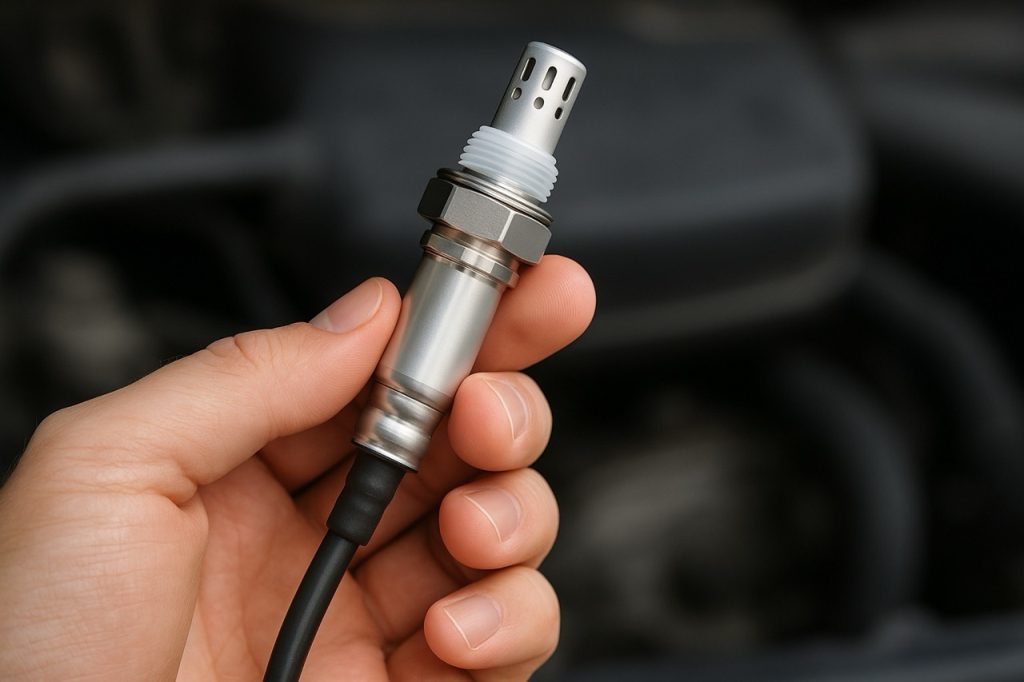
O2 sensor bank 1 sensor 1 is the upstream oxygen sensor. This is the one closest to the engine, and it sits right before the catalytic converter. In most setups, it’s screwed directly into the exhaust manifold or into the very first section of the exhaust pipe, just as the exhaust leaves the engine.
Its job is critical: it constantly reads the oxygen level in the exhaust coming straight out of the engine and sends that information to the computer. Based on those readings, the engine adjusts the air-fuel mixture to keep things running efficiently, smoothly, and cleanly. If this sensor is slow, lazy, or stuck, you’ll usually see poor fuel economy, rough running, or rich/lean codes.
Oxygen Sensor Bank 1 Sensor 2
Oxygen sensor bank 1 sensor 2 is the downstream oxygen sensor. This one lives after the catalytic converter, on the same exhaust path as Bank 1 Sensor 1. Instead of controlling fuel mixture directly, its main job is to monitor how well the catalytic converter is doing its job.
If Bank 1 Sensor 2 starts reporting readings that look too similar to Bank 1 Sensor 1, the computer sees that the catalytic converter isn’t cleaning up the exhaust gases properly. That’s when you’ll start seeing catalyst-efficiency codes. So even though both sensors are on the same pipe, they serve different roles: Sensor 1 helps control fuel, Sensor 2 helps monitor emissions.
Oxygen Sensor Location Diagram?
If you were looking at a simple oxygen sensor location diagram for Bank 1, here’s how it would be laid out in a straight line. Starting from the engine, you would see the exhaust manifold coming off the Bank 1 cylinder head, and right there, very close to where the exhaust exits the engine, you’d find Bank 1 Sensor 1 threaded into the manifold or the first pipe section.
Next in line would be the catalytic converter, mounted further down that same exhaust path. Just after the catalytic converter, still on the same exhaust line, you’d find Bank 1 Sensor 2. So visually, it’s: Sensor 1 at the top near the engine, catalytic converter in the middle, Sensor 2 just after it. Both sensors sit in the same flow of exhaust gas, one before the cat and one after, and that’s exactly what the computer is comparing.
Where Is the Oxygen Sensor Bank 1 Located?
So, where is the oxygen sensor Bank 1 located overall? Think of Bank 1 as one exhaust stream coming from the Bank 1 cylinder head. Along that stream, the Bank 1 oxygen sensors are threaded into the exhaust components. The first threaded connection you usually see right out of the Bank 1 exhaust manifold is the upstream sensor, Bank 1 Sensor 1.
Farther down that same pipe, as you move toward the center or underside of the car, you’ll find the catalytic converter. Close to the outlet of that converter, you’ll find the second threaded bung with the downstream sensor, Bank 1 Sensor 2. Both are physically on the Bank 1 side of the exhaust system, following the path from the engine to the catalytic converter and then out the exhaust.
Where Is Bank 1 Sensor 2 Located?
Bank 1 Sensor 2 lives right after the catalytic converter on that Bank 1 exhaust line. In most cars, it’s just a few inches from the outlet side of the cat, threaded into the pipe itself. It’s usually low on the exhaust pipe, underneath the vehicle.
In many cases, you’ll get to it from underneath the car, sometimes behind a small heat shield or near a bracket. You’ll see the sensor body threaded into the pipe and a wire running up to a connector that’s clipped to a bracket or the body. That’s your Bank 1 Sensor 2, downstream, after the cat, on the same side of the engine as cylinder one.
What Causes an Oxygen Sensor to Fail?
Now that you know where everything is, it’s worth understanding why these sensors fail in the first place. Oxygen sensors live in a harsh environment. They sit in hot exhaust, get blasted with moisture, fuel, carbon, and road debris, and they heat up and cool down over and over again. Over time, that alone can wear them out.
Contamination is a big reason they fail. Oil blow-by from worn piston rings or valve guides can coat the sensor. Coolant from a small internal leak can leave deposits on the sensing tip. Running leaded fuel additives or some cheap fuel treatments can also poison the sensor. Exhaust leaks upstream of the sensor can trick it into reading wrong because fresh air is being sucked in. On top of that, the internal heater element can burn out, the wiring can get damaged or melted against a hot exhaust pipe, and connectors can corrode.
All of these issues cause the sensor to react slowly, get stuck rich or lean, or stop sending a proper signal. That’s when you’ll see codes, poor drivability, and failed emissions tests.
How to replace oxygen sensor bank 1 sensor 1, and sensor 2
When it’s time to replace an oxygen sensor, the process is similar whether you’re dealing with an upstream or downstream sensor. Start by making sure the exhaust is cool enough to work around. Locate the sensor you’re replacing and trace its wire to the electrical connector. Most connectors have a small lock tab that you slide up or press down before you separate the plug.
Once the connector is free, use a slotted O2 sensor socket or a 7/8-inch wrench to break the sensor loose. These sensors can be stubborn, so make sure your tool is seated properly to avoid rounding them off. Once it’s loose, spin it out by hand. When installing the new sensor, start threading it in by hand only. That reduces the risk of cross-threading the bung in the exhaust pipe or manifold.
After it’s threaded in by hand, use your O2 sensor socket or wrench to tighten it down. Most sensors are torqued to around 30 foot-pounds, but always follow the spec for your vehicle or the sensor manufacturer. Once it’s snug and torqued, plug the connector back in until you hear or feel it click, and make sure the wiring is routed away from hot exhaust parts and moving components like the driveshaft or axles. Clip it back into its original brackets so it doesn’t hang loose.
How to Replace Oxygen Sensor Bank 1
When you’re dealing specifically with how to replace the oxygen sensor Bank 1, your first step is to confirm whether you’re working on the upstream or downstream sensor on that side. For the general Bank 1 replacement, we’ll talk about the upstream one near the manifold. Remove any plastic engine covers or small heat shields that are blocking access to the sensor. Sometimes it’s just a couple of clips or bolts holding these in place.
Once you can see the Bank 1 sensor clearly, disconnect the electrical connector by releasing the lock tab and unplugging it. Then slide your O2 sensor socket or 7/8 wrench over the sensor, break it loose, and remove it completely. Take your new Bank 1 sensor, thread it in by hand first, and then torque it properly. After that, reconnect the wiring, make sure the connector lock is fully seated, and reinstall any covers or shields you took off. That’s how you handle Bank 1 on the engine side without guessing or replacing the wrong part.
How to Replace O2 Sensor Bank 1 Sensor 2
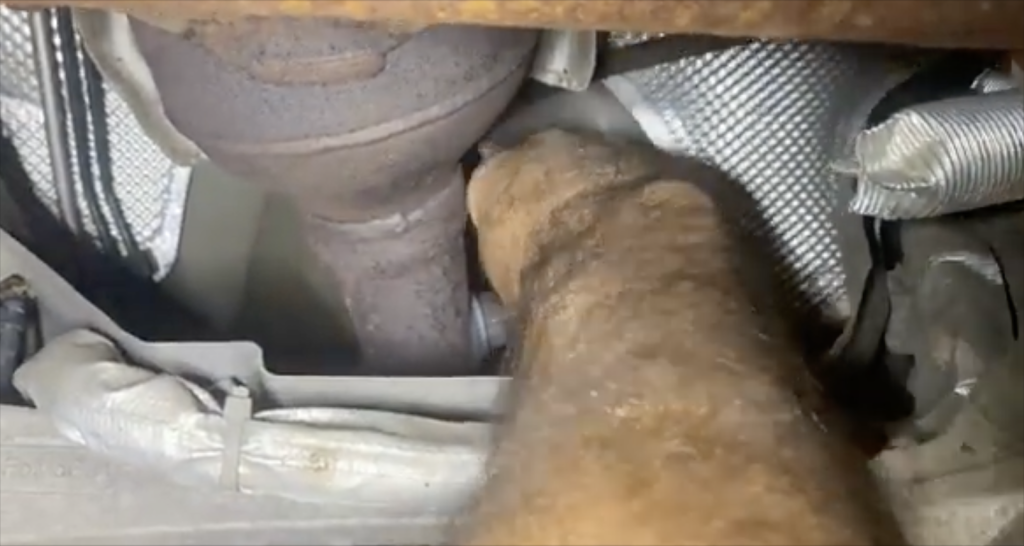
To replace the O2 sensor bank 1 sensor 2, you’ll be working behind the catalytic converter on the Bank 1 exhaust line. Safely jack up the vehicle and support it with jack stands if you need more room underneath. Slide under the car and locate the catalytic converter on the Bank 1 side, then look just after it for the sensor threaded into the pipe. That’s your Bank 1 Sensor 2.
Trace the wire from the sensor up to its connector. Release the lock tab, unplug the connector, and free the harness from any clips or brackets. Then use your O2 socket or wrench to remove the sensor. Once it’s out, install the new sensor by threading it in gently by hand, torque it to spec, and then reconnect the wiring. Make sure the harness is clipped back into the factory brackets so it doesn’t droop onto the exhaust or get pulled tight when the engine moves.
Oxygen Sensor Bank 1 Sensor 1 (Upstream Replacement)
For oxygen sensor bank 1 sensor 1, you’re working on the upstream sensor near the exhaust manifold on the Bank 1 side. Start by locating the manifold for Bank 1. You may need to remove a plastic engine cover, a small heat shield, or a bracket to get your hand and tools in there.
Once you can see the sensor body and wire, follow the wire to its connector. Release the lock tab and unplug it. Then slide your O2 sensor socket down over the sensor and break it loose. Remove the sensor completely and set it aside. Take the new upstream sensor for Bank 1, thread it in by hand until it seats, and then torque it to the recommended spec. After that, plug the connector back in and push the lock tab into place. Reinstall any shields or covers you removed, making sure everything is secure and nothing is rubbing on the wire.
How to Replace Oxygen Sensor Bank 1 Sensor 2
To replace the downstream oxygen sensor Bank 1 Sensor 2, you’ll usually be working from underneath the car. Find the Bank 1 catalytic converter, then look directly after it for the sensor threaded into the exhaust pipe. Sometimes this sensor is partially hidden behind a small metal heat shield that’s held in place with bolts or rivets.
If a shield is in your way, remove or loosen it enough to get your socket and hand on the sensor. Once you have access, follow the connector wire, release the lock tab, and unplug it. Use your O2 sensor socket to remove the sensor. Thread the new one in by hand, torque it correctly, and then reconnect the connector. Reinstall or re-rivet the shield so it protects the sensor and wiring just like before. Take a second to double-check that the wire is routed exactly the way the original one was, away from sharp edges, heat, and moving parts.
Oxygen Sensor Bank 1 Price
Now let’s talk about cost, because that’s usually the next big question after “Which sensor is it?” Oxygen sensor bank 1 price will depend on the brand of the sensor, the type of engine you have, and whether you’re buying an upstream or downstream sensor.
In most cases, you can expect to pay somewhere around thirty-five to seventy dollars for a decent aftermarket sensor. If you go with an OEM sensor from the dealership or a premium brand, the price can jump up to around ninety to one hundred eighty dollars. Upstream sensors often cost a little more than downstream ones because they need to be more precise; these are the sensors the computer uses to adjust the fuel mixture in real time. When you’re shopping, balance price and quality. The cheapest sensor may save money today, but cost you more later in repeat failures or bad readings.
What to Do After Replacing the Oxygen Sensor
After installing a new sensor, there are a few important steps you don’t want to skip. First, clear the check-engine light and the stored trouble codes using a scanner. Just installing the sensor doesn’t always make the light go away immediately; the computer needs to see a clean system and fresh data.
Next, complete a proper drive cycle. That means driving the car long enough and under the right conditions for the computer to run its self-tests. This allows it to relearn fuel trims and verify that both the catalytic converter and the sensors are functioning correctly. Keep an eye on your readiness monitors in the scanner; before an inspection, you want those monitors to show as complete or “green.”
If you notice that fuel trims are still unstable or you’re still getting codes, don’t automatically blame the new sensor. Look for exhaust leaks, vacuum leaks, wiring issues, or connector problems that could mimic a bad sensor. Fixing those underlying issues is just as important as replacing the sensor itself.
FAQs
Now, let’s quickly hit some of the most common questions people have about this job, so you can double-check yourself before replacing anything.
First: Where is Bank 1 Sensor 1? Bank 1 Sensor 1 is the upstream sensor threaded into the exhaust manifold or the first section of the exhaust pipe on the side of the engine where cylinder one is located. It’s closest to the engine and is the one the computer uses to control the fuel mixture.
Next: How to replace the oxygen sensor Bank 1 in a quick summary. Remove the engine cover or shields if they’re in the way, locate the sensor on the Bank 1 manifold, trace the wire and unplug the connector, remove the sensor with an O2 socket, install the new one by hand, torque it to spec, and reconnect the wiring. If there were brackets or locks on the connector, make sure they’re back in place.
Another question: Where is Bank 1 Sensor 2 located? Bank 1 Sensor 2 sits directly after the catalytic converter on the Bank 1 exhaust line. It can be behind a heat shield or slightly tucked up by the floor of the car, but it’s always downstream of the converter on the same side as Bank 1.
And finally, how to replace the O2 sensor Bank 1 Sensor 2 in a quick summary. Lower or remove any shields that block access, unplug the connector by releasing the lock tab, remove the sensor with your O2 socket, install the new sensor and torque it, reconnect the wiring, and re-secure the shields and harness clips exactly how they were from the factory.
Common Mistakes
There are a few common mistakes that can cause headaches later, even if you install the right sensor. One big one is using anti-seize on the threads when the sensor already comes pre-coated from the manufacturer. Many modern sensors use a special thread coating that acts like anti-seize. Adding more can change the torque and cause over-tightening or thread damage.
Another mistake is twisting the wire while tightening the sensor. Always hold the connector end steady and tighten from the base of the sensor so the wire doesn’t get twisted internally. That can damage the connection over time.
After installation, don’t forget to check live data with a scan tool. Sensor 1 should switch quickly between rich and lean, while Sensor 2 should be more stable, showing that the catalytic converter is doing its job. If the heater circuit isn’t working, you may see codes come back even with a brand-new sensor, so make sure the heater circuit tests good. And finally, be careful with torque: over-tightening can strip threads in the exhaust manifold or pipe, while under-tightening can cause small exhaust leaks that lead to false readings and more codes.
And that’s it, everything you need to know about identifying, diagnosing, and replacing your oxygen sensors correctly the first time. You now know how to find Bank 1, how to tell which sensor is which, what causes them to fail, how to swap them out, and what to do afterward so your car passes inspection and runs the way it should.
Related: Engine Light Still On After Replacing Mass Air Flow Sensor: Causes and Fixes