
How to Clean Headlights with wd40 & Toothpaste without Removing It: If your headlights are looking faded, yellowish, cloudy, or just plain ugly, this is the post for you. Don’t spend two hundred bucks replacing them, and you also do not need a headlight restoration kit, because I will be showing you the two quick and easy ways to clean and restore your Headlights, making them look brand new again, using just toothpaste and WD-40. And the best part is, you don’t even need to remove the headlights. By the end of this post, you’ll see how easy it is to go from this… to this… in just a few minutes.”
Please watch video below for visual too
How to Clean Headlights with wd40 & Toothpaste without Removing It
I use these all the time, and they work every single time. So stay with me to the end, because I’ll also share a little pro tip that makes the results last even longer, so you don’t have to repeat it frequently.
Method 1, the Toothpaste Method.
“So let’s start with the toothpaste method. First, run your hand across the headlight. If it feels rough, pitted, or bumpy on the outside, that’s a good sign; this trick is going to work. If the headlight feels smooth but still looks cloudy, that usually means the oxidation is on the inside, and no cleaning on the outside is going to fix it. But for the ones that feel rough, this is perfect.
Now, you don’t want just any toothpaste. Stay away from the gel kind; you want a gritty toothpaste, something with baking soda in it works great. If yours isn’t gritty enough, you can always sprinkle in a little baking soda to give it some extra bite.
Take a good amount of toothpaste and rub it all over the headlight. You can use a cloth, but a toothbrush works even better because it really gets in there. Just work it in with circular motions, nice and firm. You’ll notice the toothpaste starts out white, but as you’re scrubbing, it’ll turn yellow. That’s the oxidation and dirt coming off the lens.
Once you’ve worked it in for a while, spray the headlight down with a little warm water, wipe it clean with a paper towel or microfiber cloth, and check it out. Already a huge difference, right? If your headlights were really bad, you can repeat the process a second or even third time. And here’s a pro tip: after you’re happy with the clarity, apply a little car wax to the headlight. That wax will act like a protective layer, keeping them from yellowing again too quickly.”
Now moving on to the next Method, which is with the WD-40.
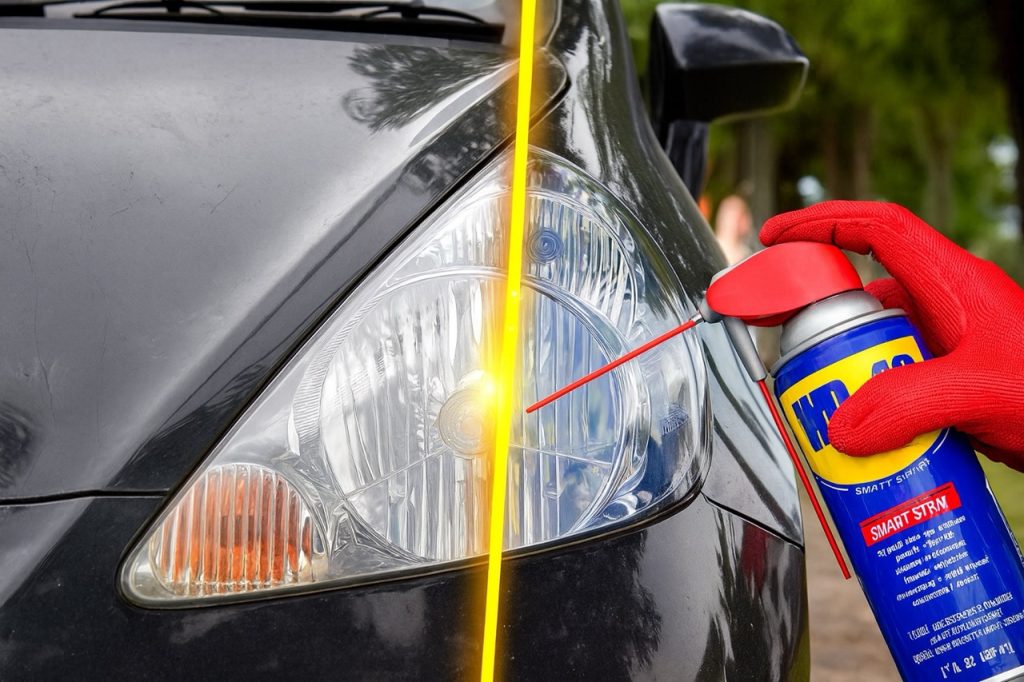
“Now let’s move on to method number two, WD-40. This one’s super quick and super simple. That’s for both methods;you do not need to remove the headlights. I just have these out already and decided to show you. And also, the WD-40 doesn’t actually remove oxidation like the toothpaste does, but what it does do is add a clear protective layer over the lens, which instantly makes the headlight look shinier, and it helps repel water and dirt too.
Just spray a little WD-40 directly onto the headlight or onto a clean rag, and rub it across the whole lens. Then buff it out gently with a dry section of the cloth. You’ll see the headlight come back to life right away, nice and clear, with a slick, shiny finish. It’s the fastest way to touch up your headlights if you’re in a rush, and combined with the toothpaste method, it really makes them look brand new again.”