
Welcome to this post, where I’ll guide you step-by-step through the process of how to unstick a fuel pressure regulator. A fuel pressure regulator is an essential element in your engine’s fuel system, responsible for maintaining consistent pressure to optimize performance. Unfortunately, they can get stuck and cause issues like poor fuel economy, rough idle, or stalling. But don’t worry; in this post, I’ll demonstrate how to unstick a fuel pressure regulator and get your engine running smoothly again.
Related Article: how-to-unstick-a-fuel-pressure-regulator

What Causes a Fuel Pressure Regulator to Stick?
Before we dive into the step-by-step process, let’s first understand what typically causes a stuck fuel pressure regulator. Dirt or debris in the system can clog the regulator and prevent proper operation. Another potential culprit could be damage or wear on one of its internal springs, reducing its ability to maintain proper fuel pressure.
How to unstick a fuel pressure regulator
Identification of a Stuck Fuel Pressure Regulator
Before you proceed, it is essential to recognize the signs that your fuel pressure regulator may be stuck. Common symptoms include an uneven idle, poor acceleration, stalling, black smoke coming from the exhaust pipe and difficulty starting your engine. If any of these apply to you, then there’s likely that your fuel pressure regulator is stuck.
Turn off the engine and disconnect the battery.
Once you’ve identified the symptoms of a stuck fuel pressure regulator, the next step should be to turn off your engine and disconnect the battery. This is an essential safety measure to prevent electrical shocks or accidents while working on your fuel system.
Step on how to unstick a fuel pressure regulator
Step 1: Locate the Fuel Pressure Regulator
The initial step in unsticking a fuel pressure regulator is to identify its location. Usually, this part can be found on the engine’s fuel rail – that long metal pipe running along the top of the engine – connected to it by way of a small hose.
Step 2: Remove the Fuel Pressure Regulator
Once you’ve identified your fuel pressure regulator, it’s time to take it off. Grab yourself some tools – including a socket set and pliers – then carefully disconnect the vacuum hose from the regulator using a socket wrench, then loosen any retaining bolts with that same socket wrench. Gently pull away from the rail as soon as you have loosed all bolts.
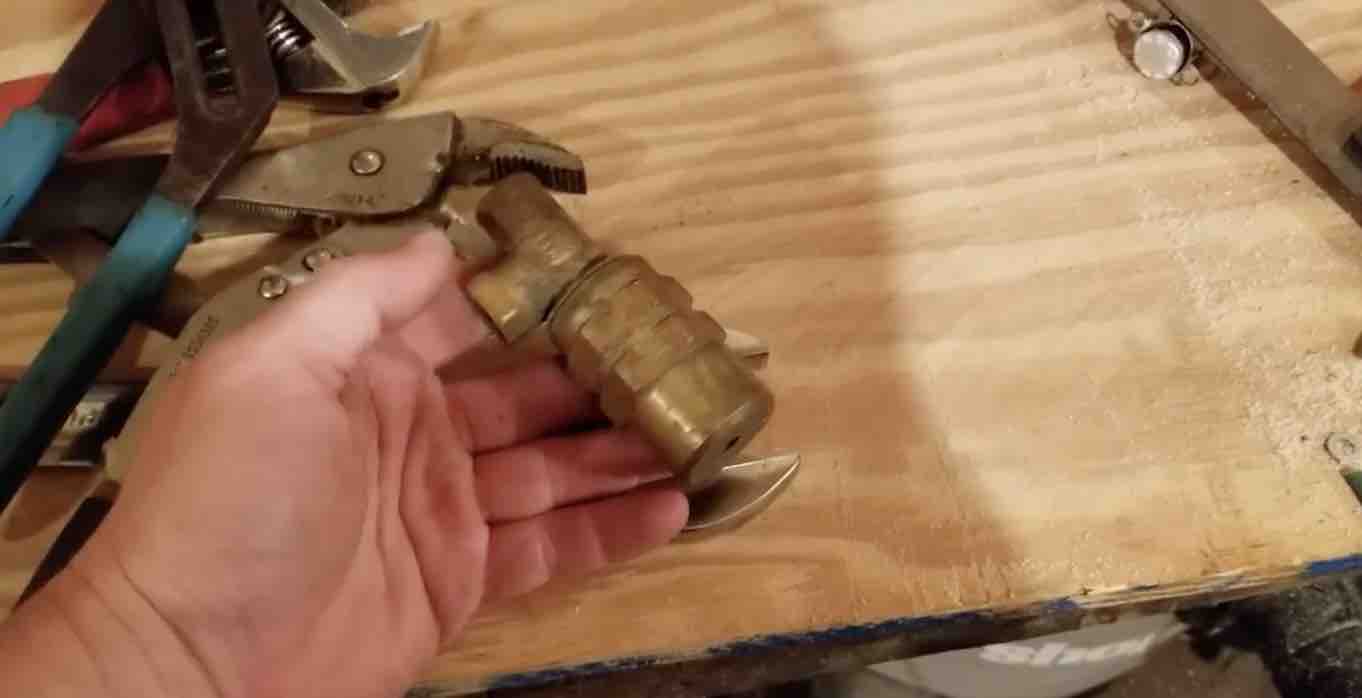
Step 3: Examine the Fuel Pressure Regulator
Once you’ve taken the regulator apart, inspect it for any damage or debris. Look for signs of wear and tear such as cracks in the housing. Inspect the spring inside to make sure it’s not broken or worn out. If you notice any issues, replacing your fuel pressure regulator would be recommended.
Step 4: Clean the Fuel Pressure Regulator
If your fuel pressure regulator appears undamaged, it’s time for a deep clean. Start by spraying with carburetor cleaner to remove any dirt or grime, then use a soft-bristled brush to scrub away stubborn particles without damaging the regulator. Rinse with water to flush away any remaining cleaner, then pat dry thoroughly with a cloth.
Step 5: Clean the Fuel System
Now that you’ve removed the fuel pressure regulator, it’s time to clean out the rest of the system in order to prevent future problems. Begin by replacing the fuel filter (usually located between the tank and the engine). A clogged filter can cause fuel pressure issues and result in a stuck pressure regulator. Afterward, add fuel system cleaner into your gas tank to help remove any remaining debris within it; follow the manufacturer’s instructions for how much cleaner should be added.
Step 6: Reinstall the Fuel Pressure Regulator
Now that the fuel pressure regulator and fuel system have been cleaned, it’s time to reinstall it. Start by placing it back onto the rail in its proper alignment and tightening with a socket wrench (being careful not to overtighten). Connecting the vacuum hose back to the regulator also ensures a secure attachment of its vacuum hose.
Step 7: Test the Fuel Pressure Regulator
Once you’ve reinstalled the fuel pressure regulator, it’s time to test it. Start the engine and let it warm up for a few minutes, then check its fuel pressure using a fuel pressure gauge. Make sure it falls within the manufacturer’s recommended range (which should be found in either your owner’s manual or online). If there are still too low or high readings, this could indicate an issue with sticking or damage of the regulator; replacing is advised.
Step 8: Preventative Measures
To avoid your fuel pressure regulator getting stuck again in the future, it’s essential to take preventive measures. Regular maintenance of your vehicle’s fuel system – including replacing the filter and adding a cleaner – helps prevent dirt and debris from clogging the regulator. Moreover, using high-quality fuel helps eliminate the accumulation of debris within the system.
Conclusion
In conclusion, a stuck fuel pressure regulator can cause several issues with your vehicle’s performance. By following the steps outlined in this video, you can unstick it and get your engine running smoothly again. Remember always to take appropriate safety precautions when working on your car’s fuel system or consult a professional mechanic if you feel uneasy performing repairs yourself. With regular maintenance and preventative measures are taken now and in the future, ensure your fuel pressure regulator remains functional correctly while avoiding future issues.
Related: What Happens When You Unplug Fuel Pressure Regulator